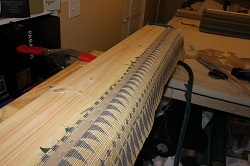
Step 1: The wood frame was already constructed by my client. I wrapped it with Cornice padding.
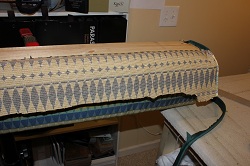
Step 2: The Cornice was covered with the face fabric supplied by my client.
Step 3: Contrasting cording was added to the top and bottom.
Step 4: The top of the cornice was covered with a coordinating fabric. This gives a nice finished top, in case the cornice can be seen from the top.
Step 5. The face fabric, pleat fabric and lining fabric for the inverted pleat valance was cut and measured to create the pleats.
Step 6. The fabric was seamed and and pleated together. Then, the lining was attached.
Step 7. The inverted pleat shape was temporarily folded into place just to check pattern placement.
Step 8. The inverted pleat valance was then attached to the cornice.
Step 9. Lining was added to the back of the cornice. It's important that the front of the treatment looks as good as the back.
Step 10. The finished treatment is inspected, packaged, and is ready for delivery to the client's home.


No comments:
Post a Comment